So, you’ve got a new baby and a serious case of wanderlust. Congratulations on both counts!
If you’re dreaming of jet-setting around the globe with your little one, the first thing you’ll need is a passport for your pint-sized explorer. Fear not, fellow parents, we’ve got you covered. This Indian passport guide will walk you through the whole process of securing one for your baby, with all the steps, documents, and tips you need to make it as smooth as your baby’s cheeks.
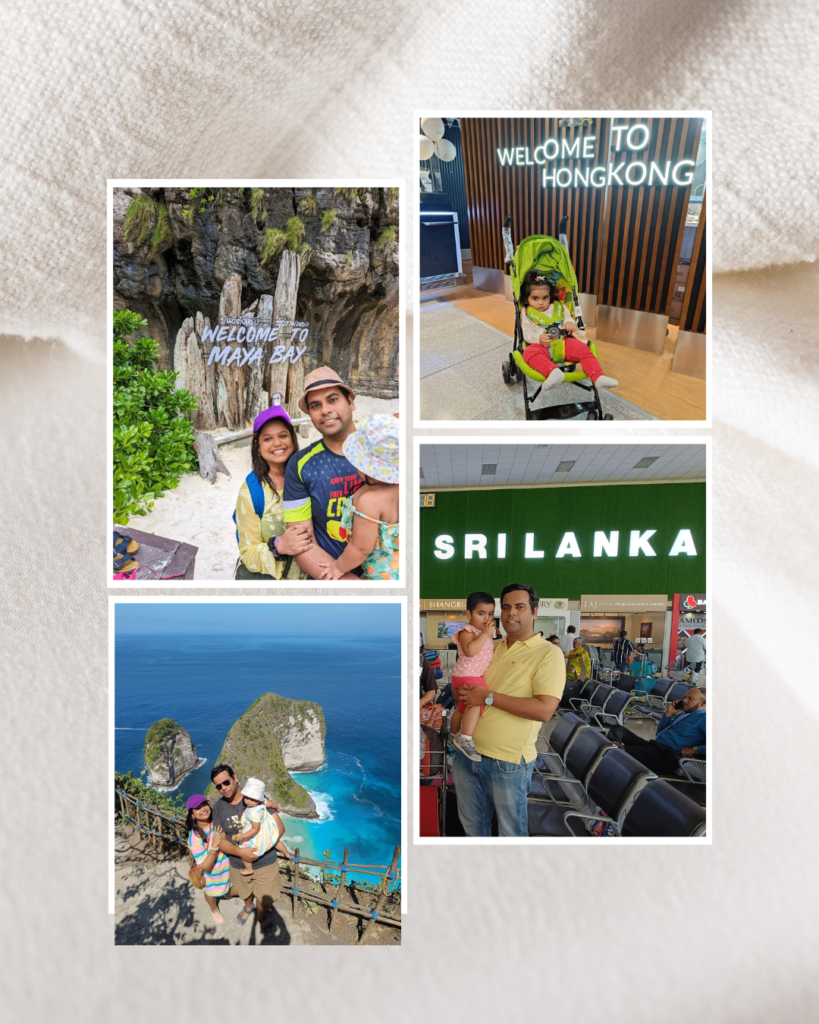
Trust us, we’re 14+ countries old!

1. Why Your Baby Needs a Passport: The Tiny Traveler’s Ticket to the World
First things first, why does your bundle of joy need a passport? Simply put, an Indian passport is your baby’s golden ticket to international adventures. Whether you’re dreaming of a beach holiday in Bali, a family reunion in Paris, or a safari in Kenya, your little one needs this crucial document. It confirms their identity and nationality, ensuring they can join you in exploring the world’s wonders. Plus, who doesn’t want that adorable tiny passport photo to treasure forever?
2. The Document List: Gather the Essentials for Your Little Jetsetter
Before you dive into the application process, let’s talk paperwork. Here’s what you need:
- Birth Certificate: A must-have, issued by the municipal authority or the Registrar of Births and Deaths.
- Proof of Address: Documents like a parent’s passport, Aadhaar card, or any government-issued document that includes your address.
- Proof of Identity: A parent’s passport or Aadhaar card will do the trick.
- Passport-Sized Photographs: Two recent color photos of your baby, 4.5 cm x 3.5 cm with a white background. Think passport chic!
- Annexure H: A declaration by the parents or guardians affirming the child’s nationality and identity. It sounds fancy but it’s straightforward. This is available at the PSK itself.
- Photocopies of Parents’ Passports: Copies of both parents’ passports to establish your baby’s citizenship. Married parents should have the spouse’s name in their passport. In case you are a single parent, or legal guardian, refer to the section of Special Case of Minor Required Passport in PSK portal.
- Marriage Certificate of Parents: Optional but good to have.
- Application Form: Fill this out online and print it.
3. Step-by-Step Guide: Navigating the Passport Process Like a Pro
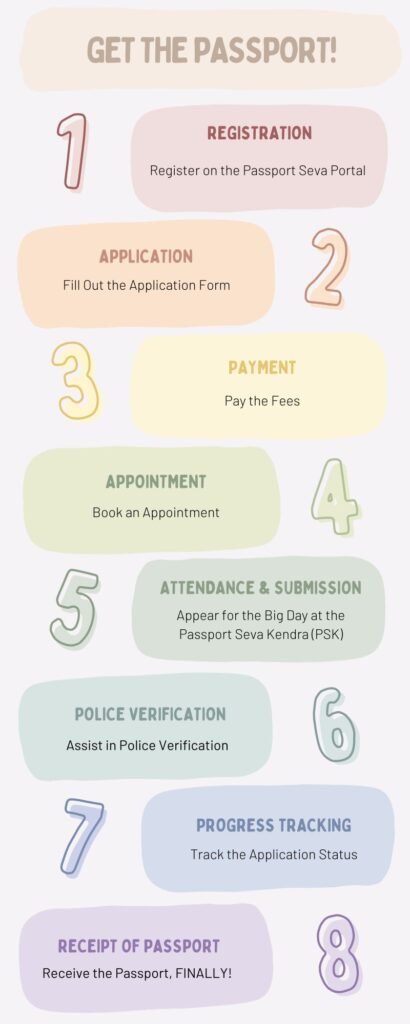
Ready to tackle the application process? Here’s how to do it step-by-step:

Step 1: Register on the Passport Seva Portal
- Visit the Passport Seva Portal.
- Click New User Registration and create an account using your email and contact details. Yes, it’s time to add one more username and password to your list.
- Log in and select Apply for Fresh Passport/Re-issue of Passport.
Step 2: Fill Out the Application Form
- Choose Fresh Passport for your tiny traveler.
- Fill in all the details: personal info, family details, and current address. Triple-check everything – typos are not your friend.
- Pick your appointment location and schedule a slot at your nearest Passport Seva Kendra (PSK) or Passport Office.
Step 3: Pay the Fees
- The fee for a minor’s passport (valid for 5 years or till the child turns 15, whichever comes first) is usually around INR 1,000. Pay online through the portal.
- Save the payment receipt and application ARN (Application Reference Number) – these are your new best friends.
Step 4: Book an Appointment
- Choose a convenient date and time for your PSK visit.
- Print the appointment confirmation receipt and keep it with your documents.
Step 5: The Big Day at the Passport Seva Kendra (PSK)
- Show up at the PSK with your baby and all necessary documents. Pro tip: Pack snacks, toys, and patience.
- At the PSK, you’ll go through several stages
- Token Issuance: Show your appointment confirmation and get a token.
- Document Verification: Submit your documents for scrutiny.
- Biometric Data Collection: Infants don’t need signatures, but a fingerprint will be taken. Get ready to channel their inner artist!
- Final Submission: Submit the complete application for processing.
Step 6: Police Verification
- After submission, expect a visit from the local police for verification. They’ll confirm the details and address you provided.
- Be home and ready with all documents to make this process smooth.
Step 7: Track the Application Status
- Use the Passport Seva Portal to track your application with the ARN.
- Stay updated on every stage, from verification to passport dispatch.
Step 8: Receive the Passport
- Once processed, the passport will be sent to your address via registered post.
- The entire process typically takes 2-3 weeks but can vary.
4. Tips for a Smooth Passport Application Experience
Here are some pro tips to ensure everything goes off without a hitch:
- Double-Check Documents: Missing documents can delay the process, so double and triple-check everything.
- Appointment Preparation: Arrive early on your appointment day with all documents neatly organized.
- Stay Cool During Police Verification: Cooperate fully with the police during their visit.
- Regularly Track Your Application: Stay on top of your application status to avoid any surprises.
- Plan Ahead: Start the process well before any planned trips to avoid last-minute stress.
5. Extra Nuggets of Wisdom: Making the Process Fun
- Make It a Family Affair: Take your partner along, share the load, and make it a family outing!
- Dress for Success: Your baby’s passport photo will last for years, so pick a cute outfit!
- Celebrate Milestones: Each step completed is a win. Treat yourselves to a small celebration!
Your Indian Passport Guide: Ready for Adventure!
With these steps in hand, new parents can breeze through the passport application process, ensuring their tiny traveler is ready for global adventures. Safe travels, and may your family’s journey be filled with unforgettable memories!
For more insights on traveling with a baby, refer to our blogs on travel essentials, carry-on essentials, toys to take, or latest food gadgets, to make your traveling experience an absolute dream!


2 Responses